https://hackaday.io/page/12671-how-to-debug-w806-and-w801-mcus
참조: https://github.com/IOsetting/wm-sdk-w806
https://hackaday.io/page/11837-getting-started-with-w806-240mhz-32-bit-mcu
W806 is quite an interesting product in terms of price and performance. One of the biggest drawbacks of this platform is lack of popular hardware debugger for it. Official CK-Link Lite debuggers are pretty expensive and not widely available. But as turns out it can be also achieved without official debugger but with use of simple STM32 “Blue Pill board”
What is is necessary to start
A) Hardware
- STM32F103C8T6 “Blue Pill board”
- W806 dev board
- Few DuPont cables
B) Software
and a little bit of time…
How to get it working?
1) Upload CKLinkLite2.30.hex to STM32 “Blue Pill board”
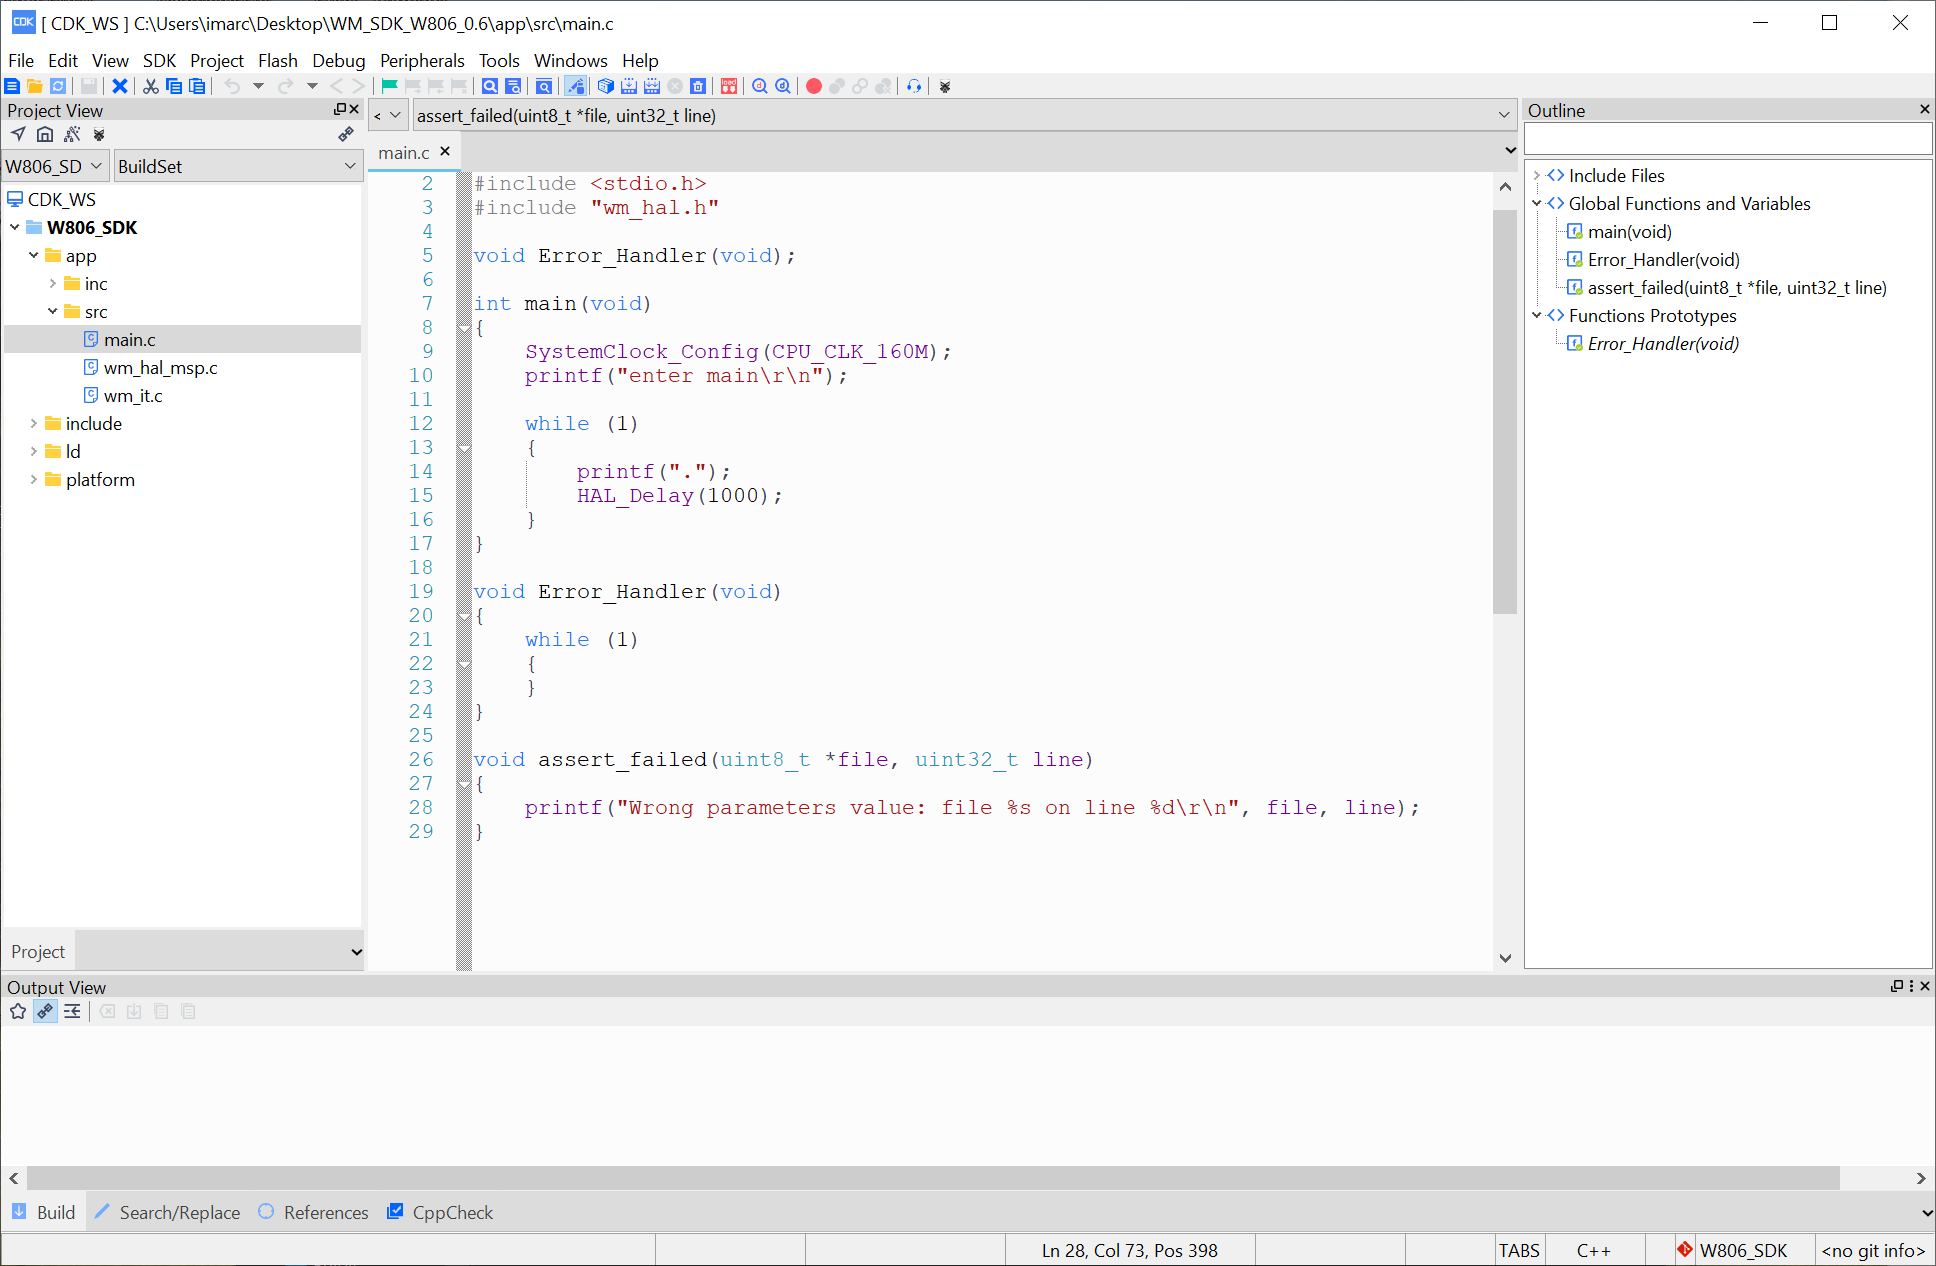
2) Open project that is located in SDK: WM_SDK_W806\tools\W806\projects\SDK_Project\project\CDK_WS\CDK_WS.cdkws
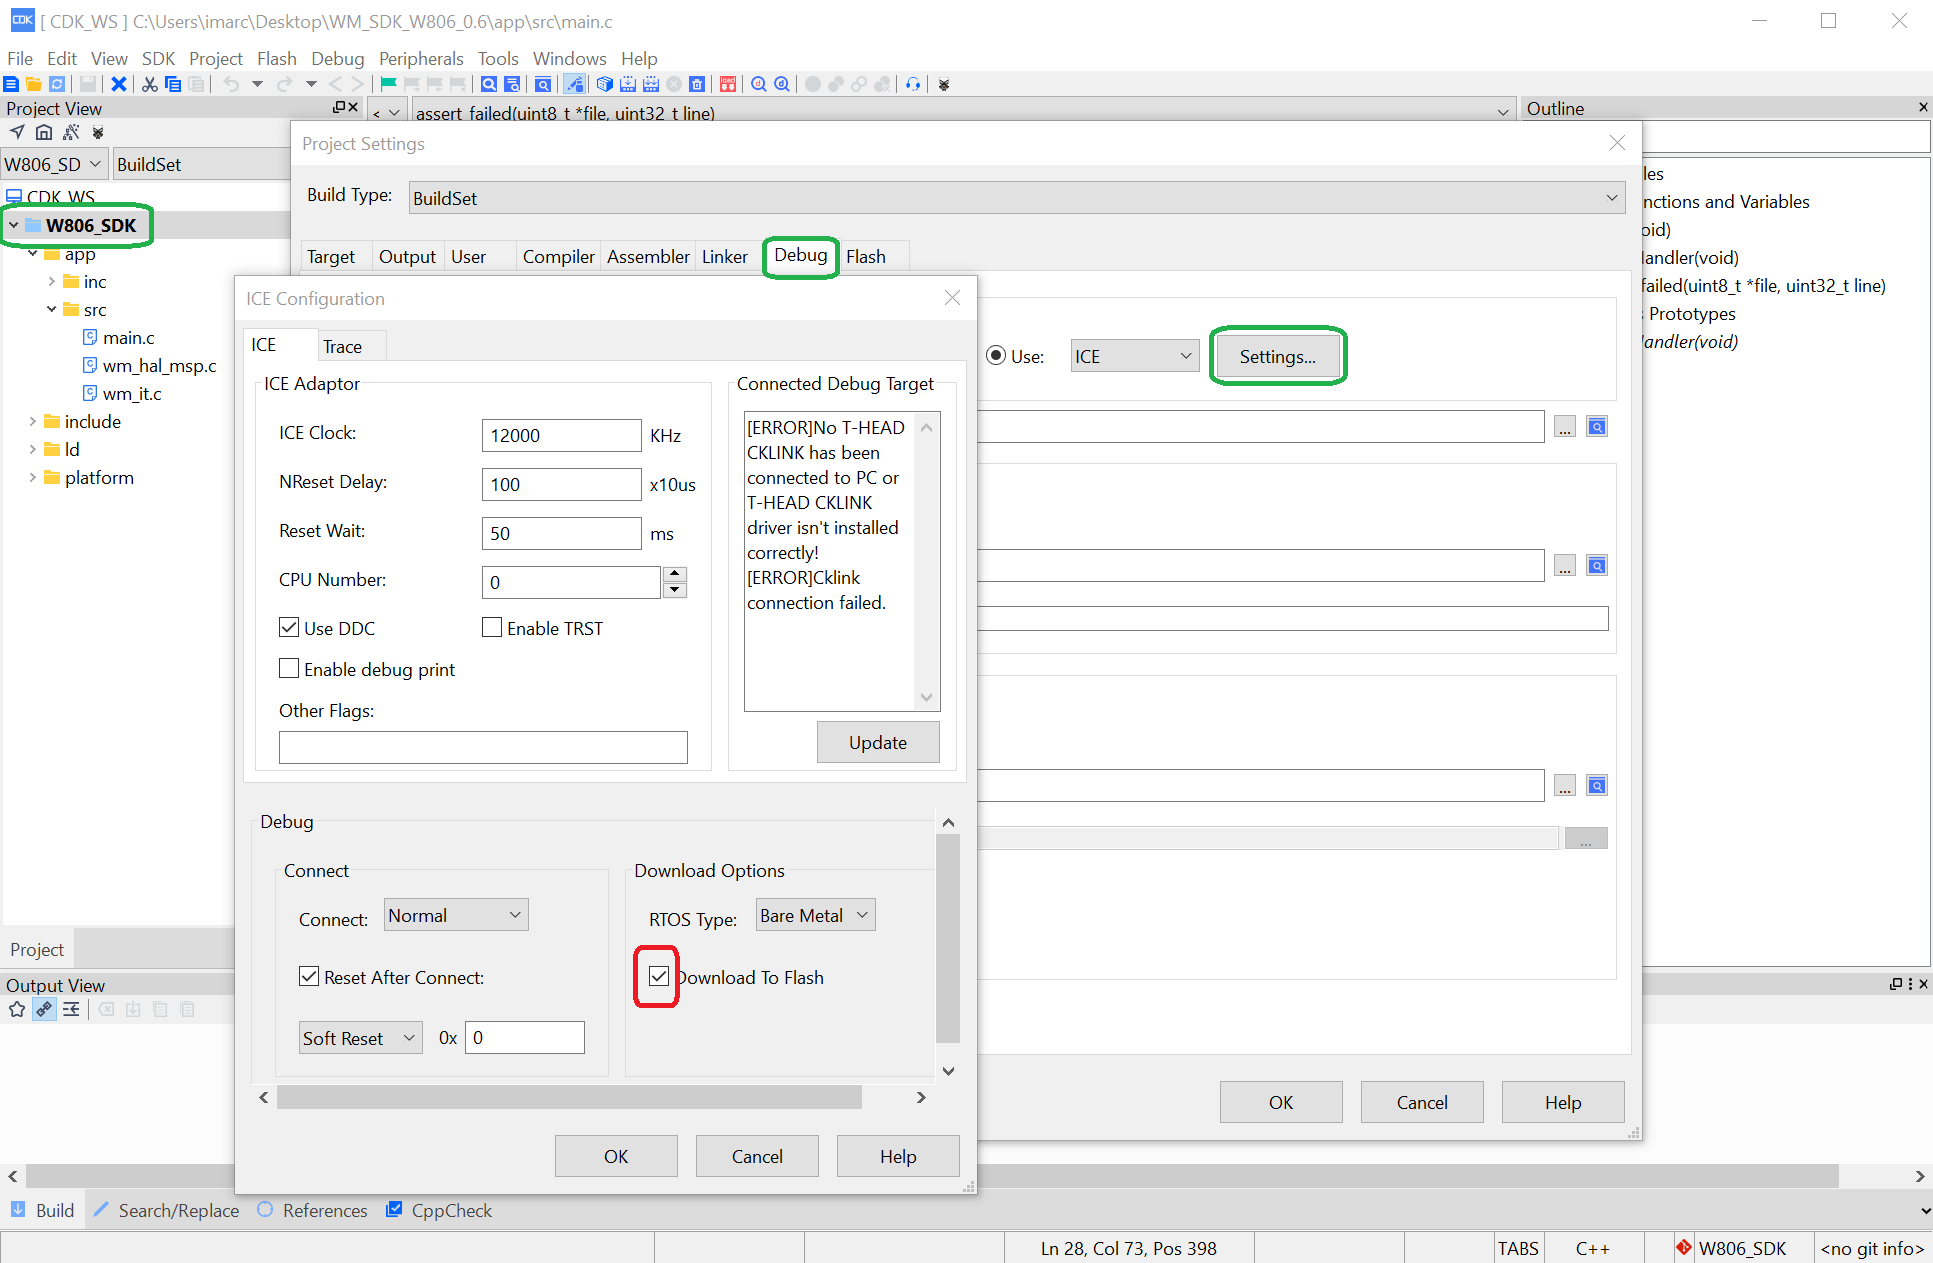
3) Enabe “Download To Flash” parameter in Debug settings
Right-click on W806_SDK → Options for “W806_SDK”
| STM32 | W806 |
|---|---|
| A0 | RST_N |
| A1 | PA1 |
| A5 | PA4 |
| 3V3 | 3V3 |
| GND | GND |
5) ConnectSTM32 via USB to PC
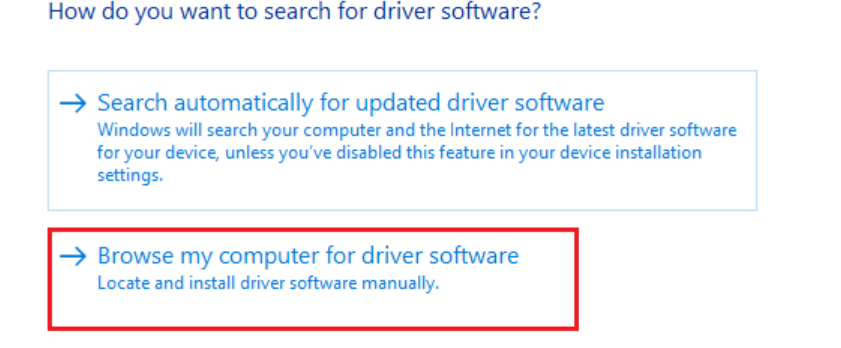
6) Update drivers in Windows Manager

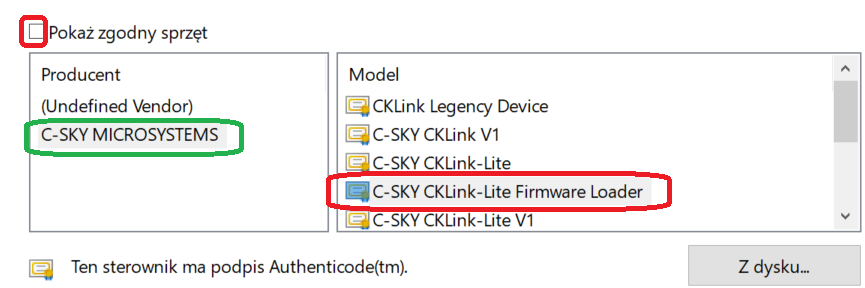
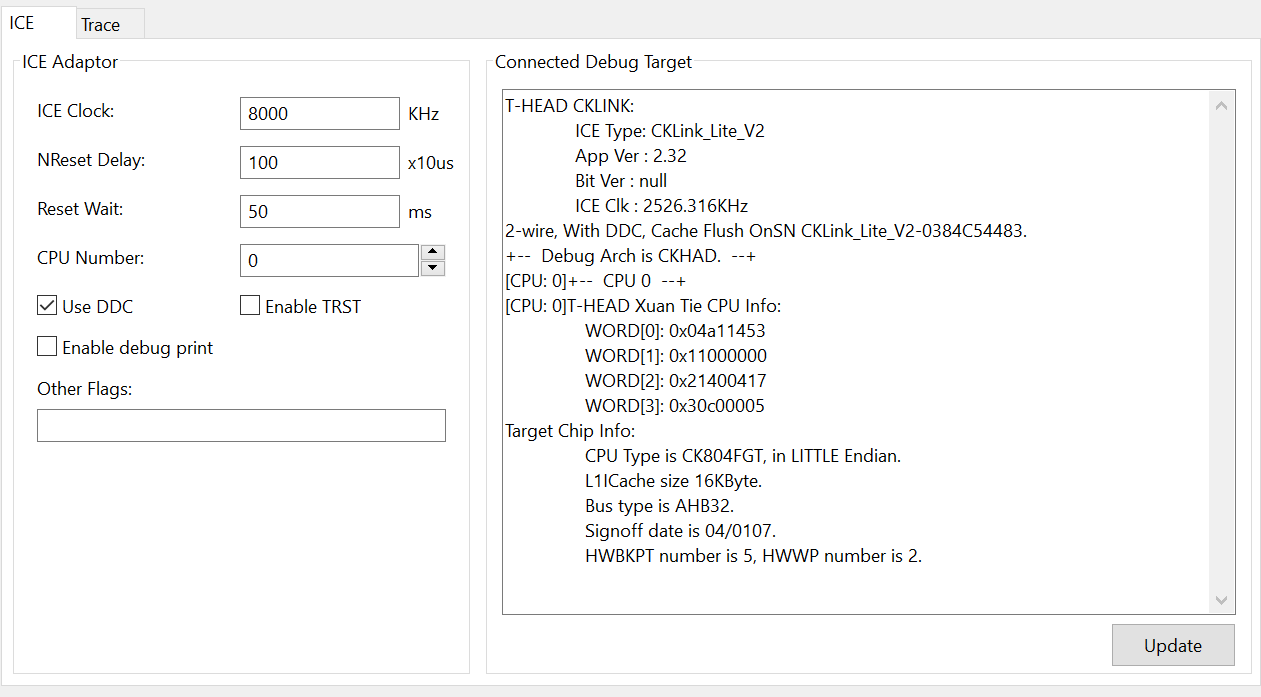
After updating driver CDK IDE should see connected hardware in Debug Tab in Project parameters:
7) Compile project – in contrast to STM32CubeIDE CDK is not automatically compiling project after clicking Debug button
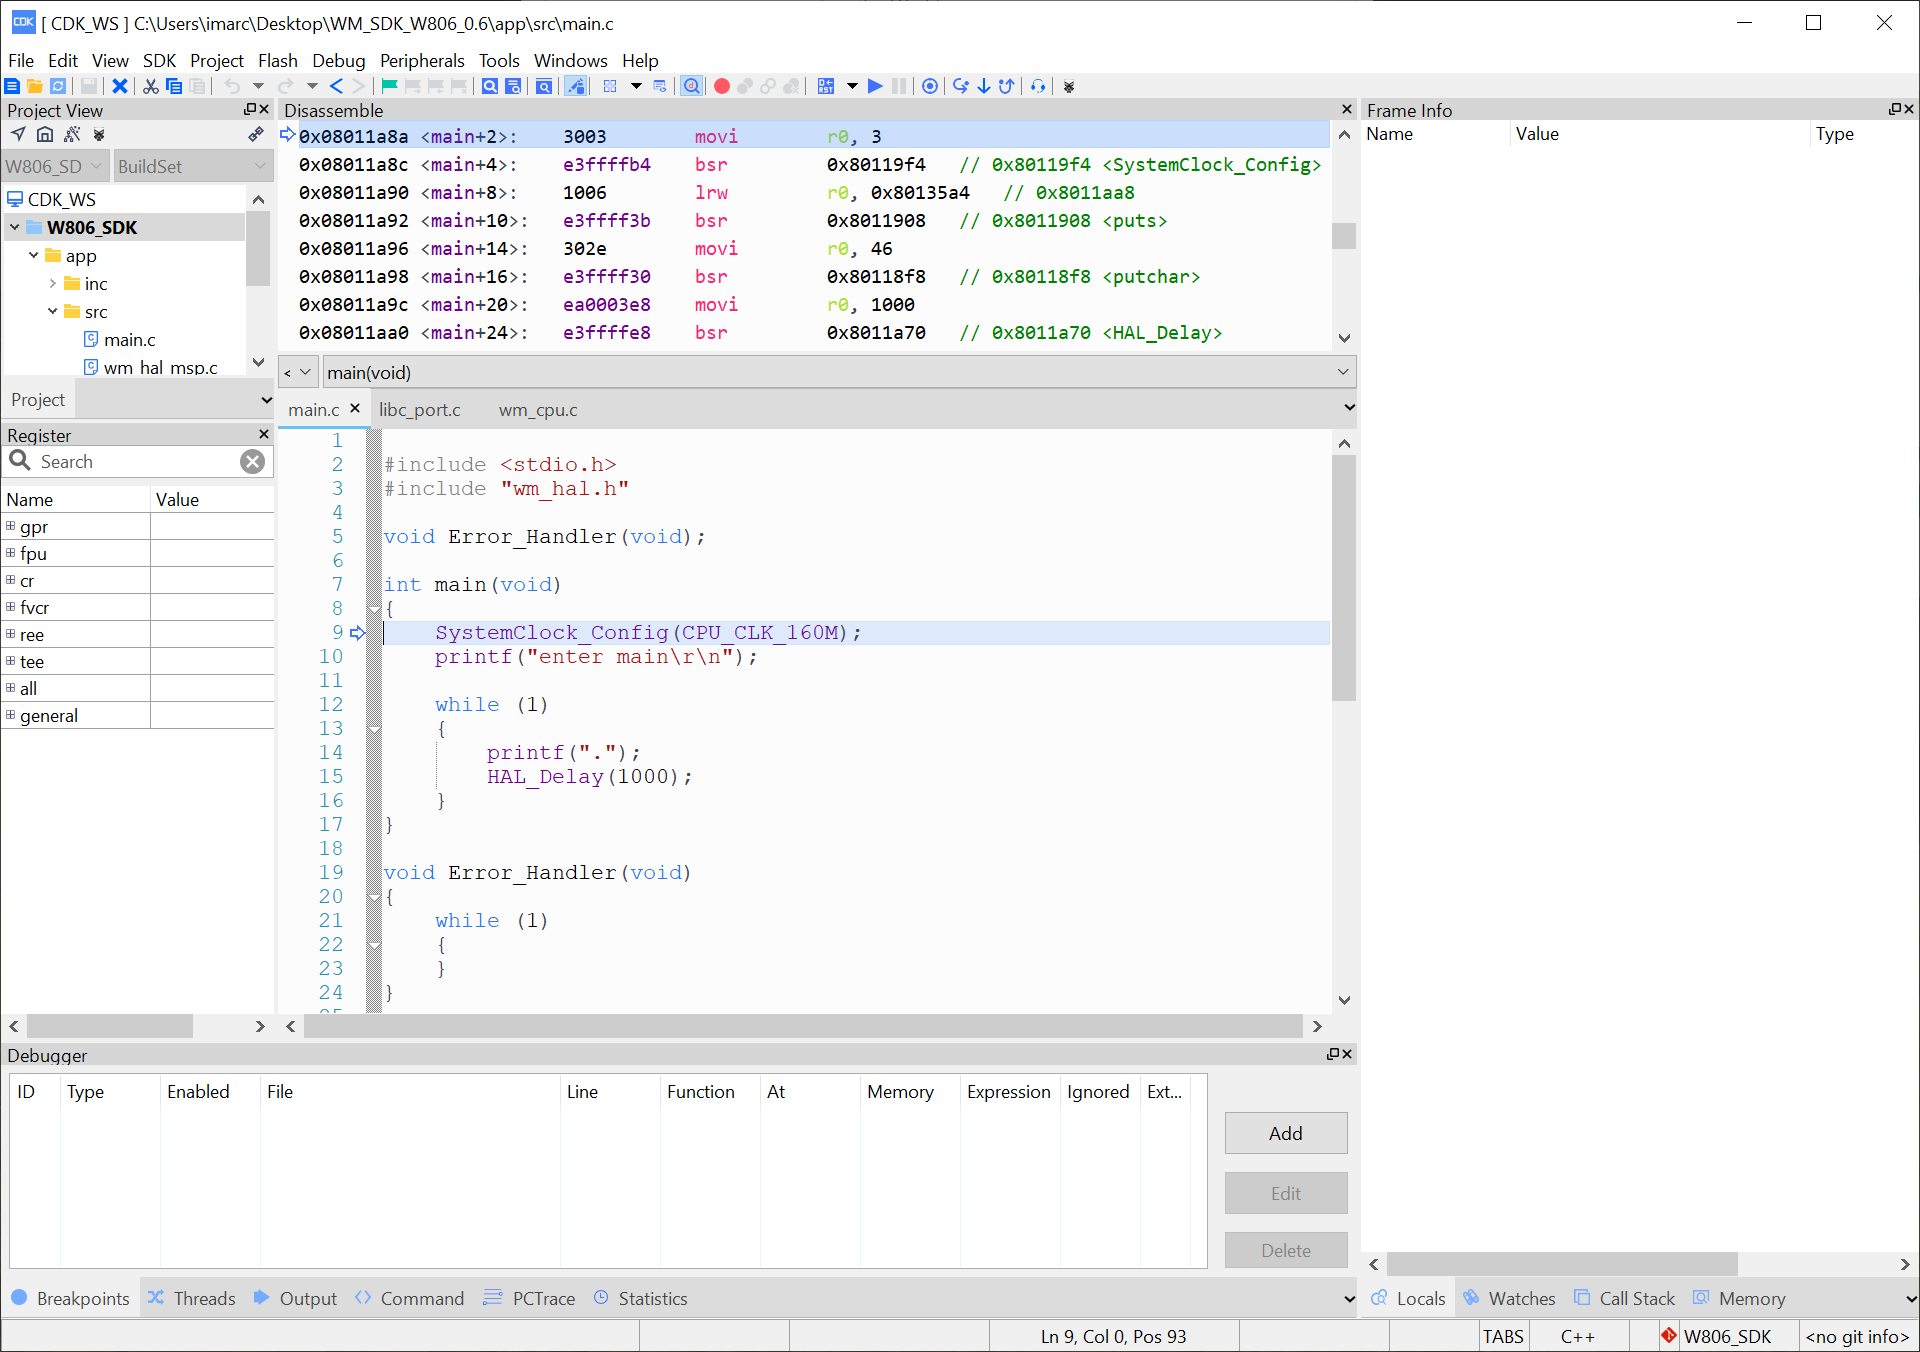
8) Starting Debugging

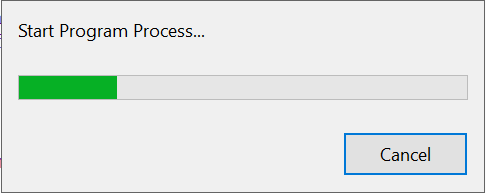
At this point you should see CDK changing to Debug mode: